
A few weeks back my friend Dee Dee sent me to this website – HERE. Along with the suggestion that we get on that fast! Just a week or so later my friend Esther received this for her birthday:
It was a sign! It was really two signs, that I needed to get the glue gun out and make some flower headbands! I just needed a reason … then I remembered the perfect occasion. Our friend Tricia’s birthday party was this past weekend. A few of us couldn’t attend the actual gathering so went Hollywood bar hopping with her instead. The ladies involved and the location was the perfect storm for gigantic flower headbands!
 A little about me. I live for “statement pieces.” When I had a much more exciting life and went out more I would wrap myself in ribbons or a hat or a giant flower or ….. I love it! What is the point of going out if people aren’t going to stare at you. That’s my philosophy!
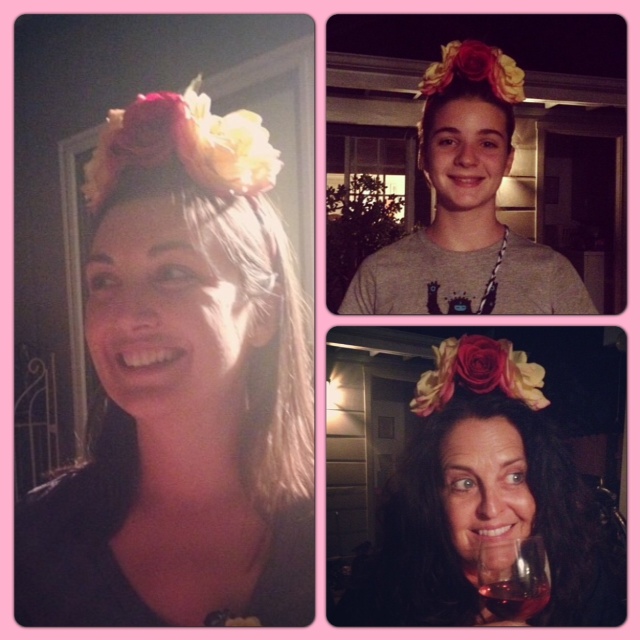
Off to Michael’s I went. The flowers that were used for my friend Esther’s Frieda Kahlo inspired headband were super fancy roses. I found them … they were $10 EACH. I don’t care how pretty the flower is I’m not spending ten bucks on it! Luckily for me the fall flowers were on sale and it was easy to find a few bundles that were well priced and pretty. For the birthday girl I went a little fancier and got a softer color. Me? I’m not a soft color type of gal! I want primary colors and I want them to be bold!
 After a quick stop at Rite Aid (or something similar) to grab a bundle of basic headbands I headed back to my house to get the glue gun turned on. Then I watched the premiere episode of Grey’s Anatomy that I had recorded earlier in the week. That gave my glue gun approximately 1 1/2 hours to heat up to a temperature that could have the gun second as a spot welder. I have the old fashion glue gun that spits out molten lava and causes me to scream FUUUUUUCCCCCKKKKK on a fairly constant basis while using it. The instructions on the site say to pull off the
 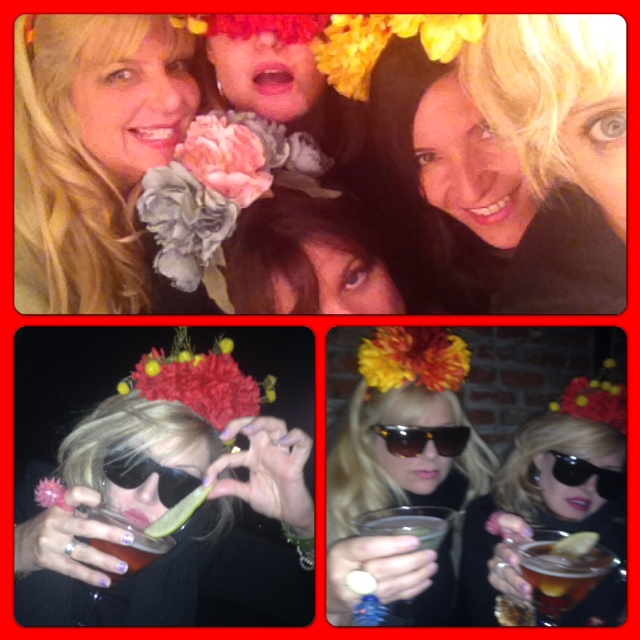 flower head from the stem and cut of the little stem that is left. Don’t do that. That little stem is what holds everything together. Do pull off the flower head and just leave it at that. Then grab your hot glue gun (aka tool of torture) and glob it on the flower. I had to hold the flower in place, above my head, up to the ceiling fan to get it to set faster. It is a little bit of a pain in the bum but not horrible. Just keep piling giant flowers on your headband until you are satisfied.
Oh I forgot …. I covered the headbands with 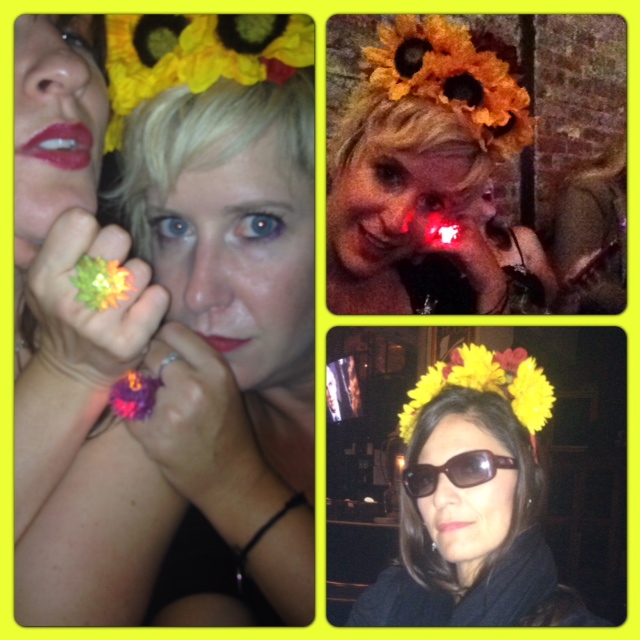 a strip of ribbon first. I figured it would be prettier and would give the flowers something to stick too. I had purchased a combo pack of headbands so each were a little different. The ribbon helped unify them plus gave the super skinny headbands more real estate to work with.
After all were made I looked in awe at my creations. They are BEAUTIFUL and were a big hit. I was asked by folks more than once that evening where  they could purchase one for themselves or their girlfriend/wife. Yes they are big. Yes they are bright. Yes they are perfection! Totally worth the multiple burns on my fingers and toe (yes I got hot glue on my toe) and the giant chunk of skin missing from my ring finger (if you get hot glue on you don’t pull it off … I repeat … don’t pull it off). I’m sure it won’t be the last time you see pictures of me with giant flowers adorning my head like a mysterious fairy crown!


